
- Dataflow Programming and Data Types in LabVIEW
- LabVIEW Interview Questions
- LabVIEW Programming
- LabVIEW Tutorial
- Block Diagram in LabVIEW
- LabVIEW Graphs and Charts
- Initializing Arrays In Labview
- Introduction of Repetition And Loops in LabVIEW
- Local and Global Variables in LabVIEW Tutorial
- Overview Of Clusters In Labview
- Shift Registers in LabVIEW
- Labview Structures
- LabVIEW Projects and Use Cases
- LabVIEW VI and Modular Programming
LabVIEW is a software developed by National Instruments (NI). It allows developers to create programs using the data-flow approach. The software helps developers build measurement, instrumentation, control systems, and automation applications.
This article includes the Windows LabVIEW setup steps for Windows, LabVIEW system requirements, FAQs, and more.
Table of Contents
- Overview of LabVIEW
- Features of LabVIEW
- Prerequisites and System Requirements
- Installation Procedure for LabVIEW on Windows
- LabVIEW Installation Troubleshooting
- Frequently Asked Questions
Overview of LabVIEW
First and foremost, let’s learn the fundamentals of LabVIEW in this section.
- LabVIEW stands for Laboratory Virtual Instrument Engineering Workbench,
- It uses G, a graphical programming language, to create programs.
- LabVIEW programs are virtual instruments (VIs) because they are made of visual blocks resembling actual instruments.
- LabVIEW allows you to develop validation and production test systems.
- It can connect with any hardware seamlessly.
Next, we will look into the features of LabVIEW before installing it on your machine.
| If you would like to Enrich your career and become a professional in LabVIEW, then visit Mindmajix - A Global online training platform: “LabVIEW Training” Course. This course will help you to achieve excellence in this domain. |
Features of LabVIEW
LabVIEW offers a rich set of features to users. Let’s take a look at them below.
- Interactive UI: The user interface of LabVIEW is called the Front Panel since it resembles a physical instrument. It contains knobs, graphs, push buttons, and other controls and indicators for interacting with users.
- Modular Development: You can use a LabVIEW program as a subprogram within a VI. It is called subVI, and it adheres to modular programming.
- Huge library support: LabVIEW has numerous built-in functions and libraries for data acquisition, GPIB, serial instrument control, data presentation, analysis, and storage.
- Simplify the development process: You can divide each task into subVI representing a specific function. You can accomplish each sub-task and combine them into a larger task. It makes debugging very simple.
- Versatile tool: You can use LabVIEW for various applications such as developing test systems and industrial equipment, measuring physical systems using sensors or actuators, and many more.
Sure! Labview features are impressive. It’s time to jump into the LabVIEW Windows installation tutorial. Let’s get ready.

Prerequisites
Before installing LabVIEW on your Windows operating system, ensure your system meets the following minimum system requirements.
- Operating System: Windows11/Windows server 2022 64-bit/windows 10 64-bit/windows server 2019 64-bit
- Processor: Intel i3 core or equivalent
- RAM: 8 GB or more
- Storage: Minimum of 5 GB of storage space.
Check Out: LabVIEW Tutorial
Installation Procedure for LabVIEW on Windows:
This section provides an easy and hassle-free step-by-step LabVIEW Windows setup guide for installing LabVIEW on Windows.
Let’s get in!
Step 1: Create your LabVIEW account
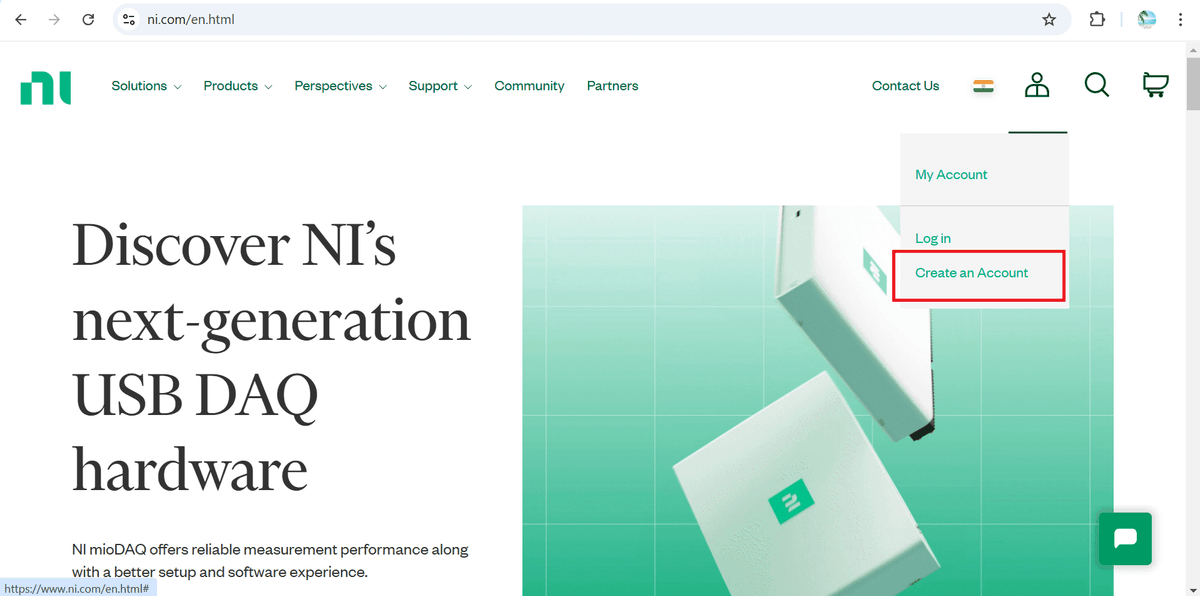
- First, click here to open NI's home page.
- Next, hover your cursor over the My Account icon at the top left of the window and select the ‘Create an account’ option.
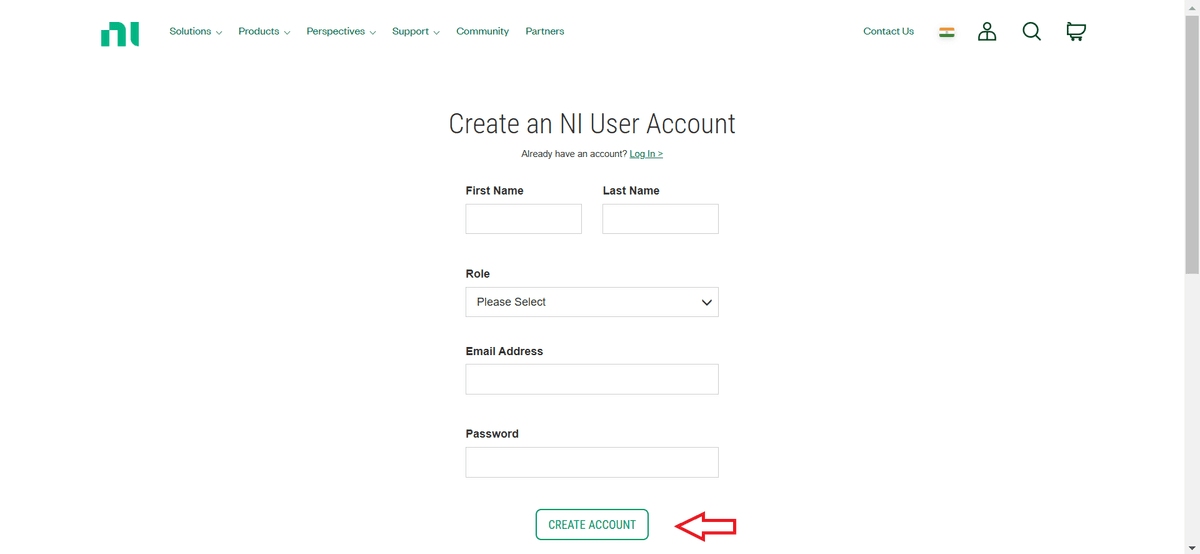
- Fill out all the fields with the required information and click the ‘CREATE ACCOUNT’ button.
- A verification link will be sent to the email address you provided.

- Click the verification link provided in the mail.
- Once you have done so, you will receive the account confirmation on the NI page, as shown in the image below.

- Great! You have opened your NI user account successfully.
Step 2: Download LabVIEW for Windows:
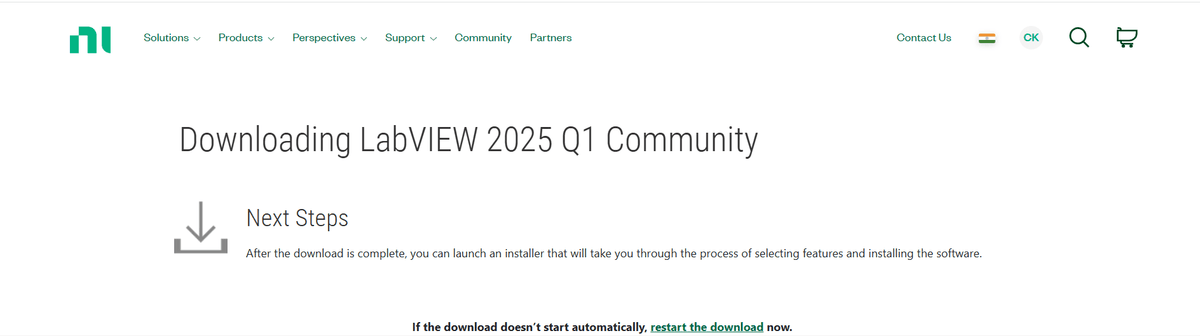
- Click here to download the LabVIEW Windows installer.
- You will see the screen shown below. Select the operating system, version, and LabVIEW edition.
- Here, you will select Windows OS, 2025 Q1 version and community edition.
- Then click the download button for Windows LabVIEW download.

- The LabVIEW installer will be downloaded as a zip file on your machine.
Step 3: Run the installer
- Navigate to the folder where the installer has been downloaded.

- Extract the zip file.
- Double-click on the setup ( .exe) file for installation, as shown in the image below.

Step 4: Accept the license agreements
- The labVIEW installation wizard is launched now.

- Accept the license agreements and then click the Next button.

Step 5: Start Installation
- Once the agreements are accepted, a wizard will open.
- Select the check box opposite Disable Windows for Fast Start-up in the wizard and click Next.

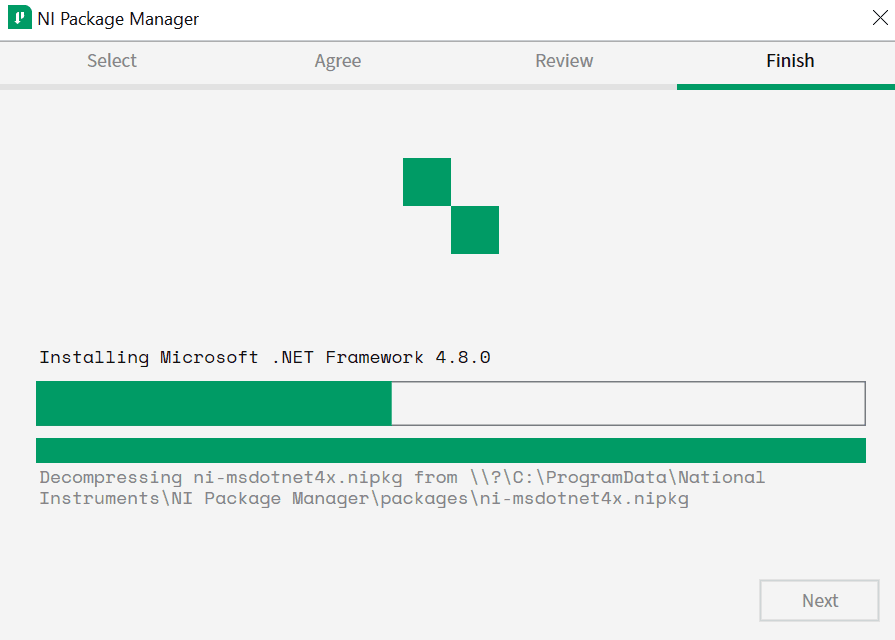
- You will now be asked to install the NI package manager. In the pop-up shown below, click Next.
- Now, the installation of the package manager has started.
- Afterwards, you will be asked to select the additional items you wish to install for specific requirements.
- You can choose the default preferences and continue to the 'Next' option, as shown in the image below.

- Accept the license agreements and click on the ‘Next’ button.

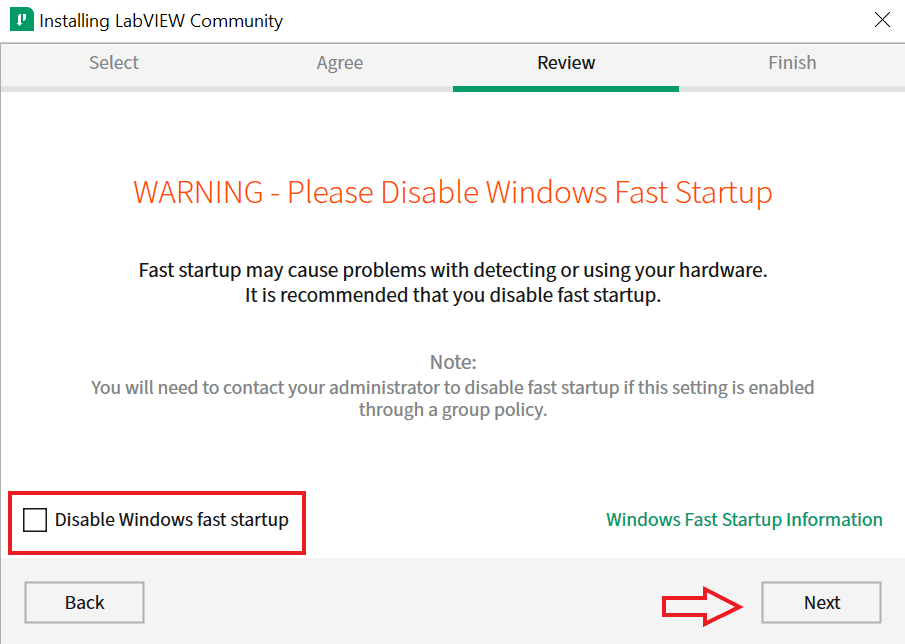
- Once again, you need to disable the Windows Fast Checkup.
- To do so, tick the checkbox opposite the Disable Windows Fast setup in the below wizard.
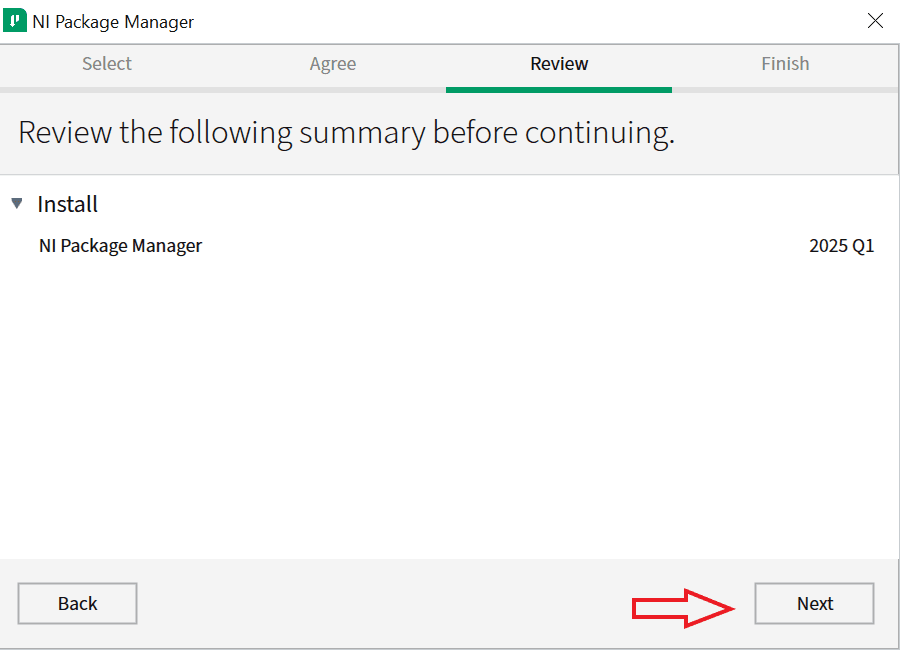
Step 6: Review the summary of selected components
- A pop-up will emerge to review the summary of the selected components for installation. Click the Next button.

- Installation continues now.

- A prompt will appear asking you to allow the NI update service to check for updates. Press the Yes button.

Step 7: Activate LabVIEW
- Activate the software by clicking the login activate button, as shown below.
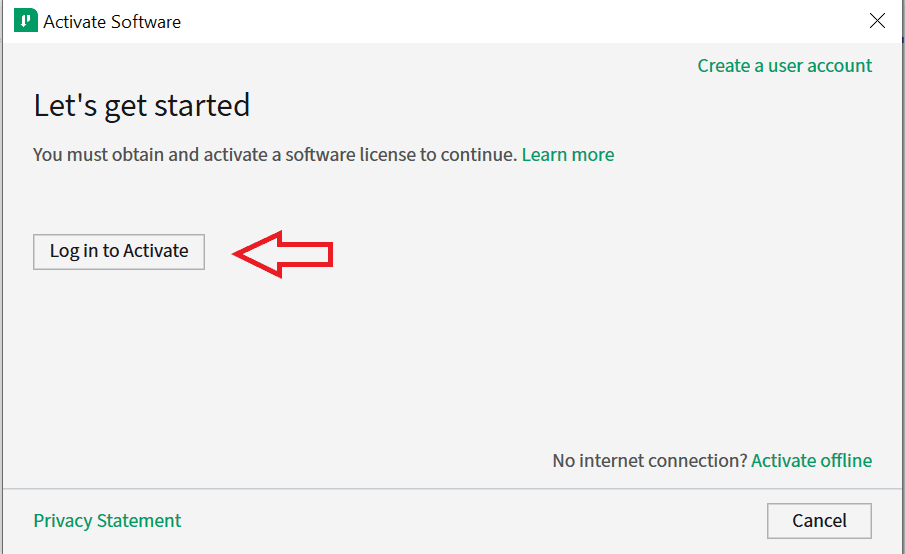
- You will be asked to enter the login credentials you created in the first step.

- If your login fails, you might have wrongly keyed in your credentials. In that scenario, verify your credentials.
- You can use the ‘forgot password’ option to regain your credentials if needed.
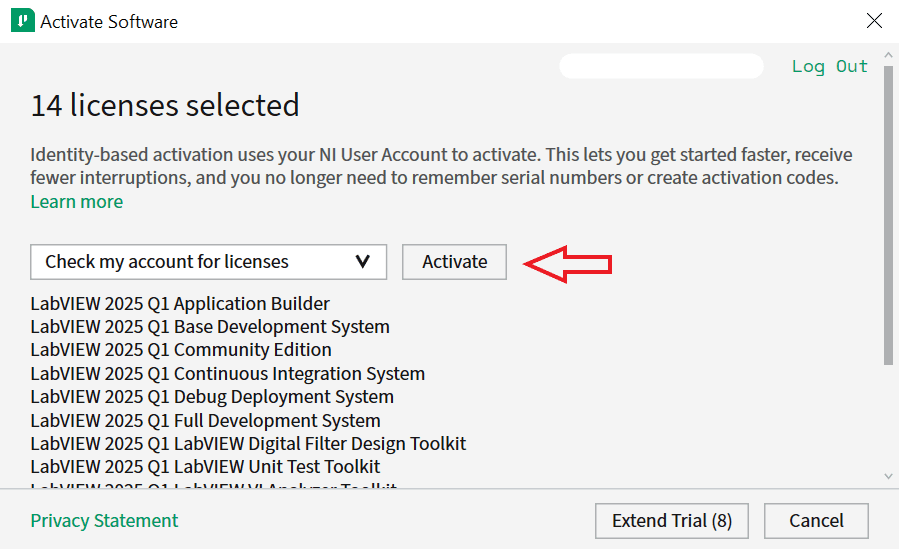
- The new wizard will show you a list of selected licenses. Click the activate button now.
- You will see the LabVIEW activation completion wizard below. Click the Finish button to close the activation.

Step 8: Complete the installation.
- Finally, you will be asked to reboot the machine.

- Click the Reboot Now button to complete the installation.
Step 9: Verify the installation
- Once Rebooting is over, you can open the LabVIEW software from the start menu or the desktop shortcut.
- Then, create a project to start working with the software.
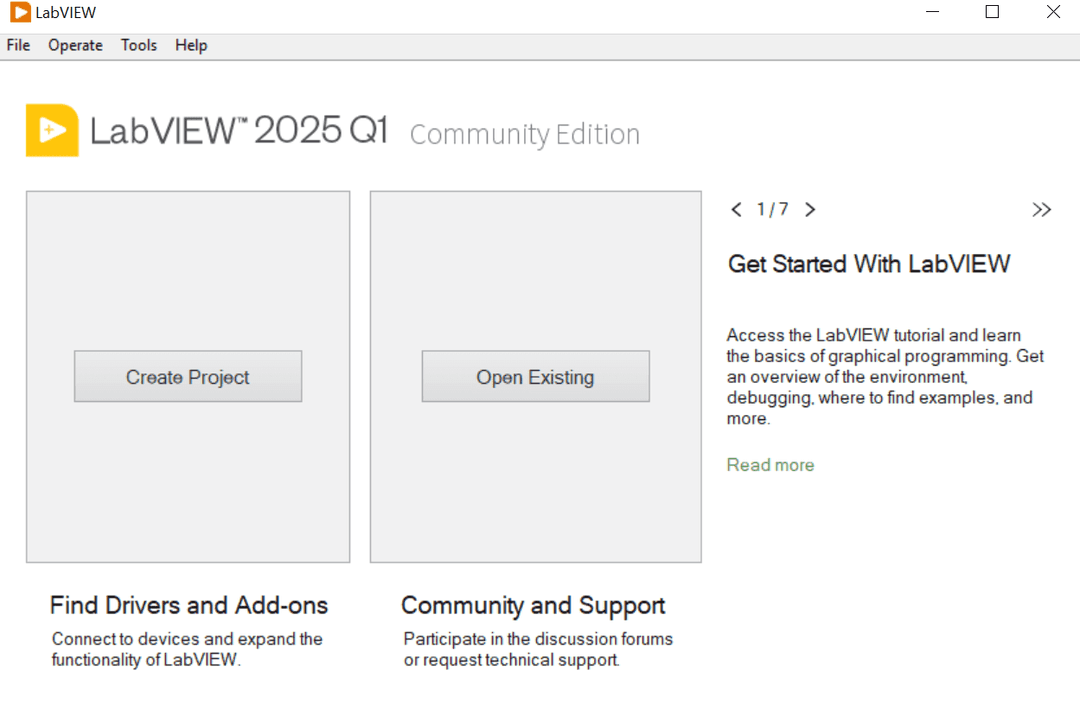
Congrats! Using the above installation steps, you have successfully installed LabVIEW on your Windows machine. Now, you are ready to create VIs with its robust features.
LabVIEW Installation Troubleshooting:
While installing LabVIEW on your Windows PC, you may inevitably encounter installation issues.
Let’s address the troubleshooting and post-installation processes involved in LabVIEW installation.
- Troubleshooting
- If you face any other issue during installation, check whether your system meets the minimum LabVIEW software installation requirements.
- If you receive errors about missing updates or drivers, you must ensure your machine has the latest Windows updates and drivers.
- If the installation fails abruptly, retry installing LabVIEW as an administrator. Otherwise, you can reinstall the software.
- Post-installation
- You may install additional LabVIEW drivers or toolkits based on your project requirements.
- You can check for updates and patches in the NI update service or LabVIEW’s built-in Update tool.
These troubleshooting and post-installation tips will help you overcome bottlenecks in the LabVIEW installation process.
Summary:
- LabVIEW is a robust graphical programming environment
- It is an ideal software for building test and measurement applications
- It is widely used for data acquisition, instrument control and automation
- It follows a data-driven approach to the program execution
- It has many in-built libraries for interfacing with instruments, sensors and other devices
- Its modular design approach helps to develop scalable and flexible LabVIEW applications
Frequently Asked Questions
1. What is G-Programming Language?
'G' is a data flow programming language that is the basis for the LabVIEW environment. A program written in G is called a Virtual Instrument.
2. Is LabVIEW free for Windows?
LabVIEW is available in free and paid versions. Its community edition can be downloaded freely without a license. We recommend you review the terms of the community edition using this link.
3. What is the pricing of LabVIEW paid editions?
LabVIEW provides different paid editions, as shown in the table below.
| Edition | Price |
| LabVIEW Base | INR 45,600/year |
| LabVIEW Full | INR 143,700/year |
| LabVIEW Professional | INR 239,300/year |
| LabVIEW + Suite | INR 344,900/year |
4. What is the use of .NET in LabVIEW?
Using .NET, you can access the objects, methods, properties, and events associated with .NET servers. LabVIEW allows hosting the .NET in the interface controls on the front panel in a virtual instrument.
5. Is there any community support for LabVIEW?
Yes, National Instruments Corporation, which developed LabVIEW, provides broad community support through online forums. You can resolve your queries on the community forum, which is available at the link below.
Check Out: LabVIEW Interview Questions
Conclusion
LabVIEW is a software that simplifies scientific computation, process monitoring and control, and test and measurement applications. That's why it is a popular choice among industry experts from various technological landscapes.
We hope the effortless installation procedure helped you install LabVIEW quickly. If you want to learn more about LabVIEW, you can enrol in MindMajix’s LabVIEW training. The training will elevate you to a highly skilled LabVIEW professional.
 On-Job Support Service
Online Work Support for your on-job roles.

Our work-support plans provide precise options as per your project tasks. Whether you are a newbie or an experienced professional seeking assistance in completing project tasks, we are here with the following plans to meet your custom needs:
- Pay Per Hour
- Pay Per Week
- Monthly
| Name | Dates | |
|---|---|---|
| LabVIEW Training | Jul 18 to Aug 02 | View Details |
| LabVIEW Training | Jul 21 to Aug 05 | View Details |
| LabVIEW Training | Jul 25 to Aug 09 | View Details |
| LabVIEW Training | Jul 28 to Aug 12 | View Details |

Madhuri is a Senior Content Creator at MindMajix. She has written about a range of different topics on various technologies, which include, Splunk, Tensorflow, Selenium, and CEH. She spends most of her time researching on technology, and startups. Connect with her via LinkedIn and Twitter .


