- Angular 8 Tutorial
- AngularJS CDN Integration
- AngularJs vs Angular Versions - A Definitive Guide
- Understanding AngularJS: Factory vs Service
- AngularJS Interview Questions and Answers
- AngularJS Tutorial
- AngularJS vs Bootstrap: What Is The Difference?
- AngularJS vs Node JS
- How Will AngularJS Make A Difference In Your Career?
- React JS vs Angular JS
- Myths Of AngularJS Unleashed
- Six Figure Pay With AngularJS Certification
- What is Angular CLI ?
- What is AngularJS? - Getting started with AngularJS
- What Led To The Popularity Of AngularJS?
- Why Should You Consider A Career Shift To AngularJS?
- Why Should You Use AngularJS?
- Protractor Interview Questions and Answers
- Vue vs Angular
- Symfony Interview Questions
- Thymeleaf vs Angular
- Angular JS Projects and Use Cases
- Angular Projects and Use Cases
Angular is a single-page web application framework created in Typescript. Single-page application means all the application functions exist in a single HTML page only, and when the user requests any features, it renders that part only, and it doesn't load the complete page or redirect to a new page. As a result, the user experience becomes smooth. This framework is created and managed by Google.
How To Install Angular - Table of Contents
- Prerequisites to Install Angular
- What is NodeJs?
- What is NPM?
- How To Install NodeJS on Windows?
- Steps To Install Angular on Windows
- FAQs
Prerequisites to Install Angular
These are the minimum requirement to run Angular on your Windows system:
- Node.js
- Node Package Manager
- Any IDE (Preferred VS Code)
- Processor i3 and above
- RAM 4GB and above.
| If you want to enrich your career and become a professional in Angular, then enroll in "Angular Online Training". This course will help you to achieve excellence in this domain. |
What is NodeJs?
NodeJs is a runtime environment for javascript that runs the Javascript code outside the web browser. It is a cross-platform and open-source platform, which means it can run on Windows, Linux, MacOS, Unix, etc. With the help of NodeJs, you can create various applications as it comes with an inbuilt Package Manager, which contains enormous libraries that help create scalable applications.
What is NPM?
It stands for Node Package Manager. With the help of NPM, you can download all the javascript libraries. It is a default package manager for the JavaScript runtime environment NodeJs.
How To Install NodeJS on Windows?
Let’s get started by installing NodeJS first. If you have the NodeJs installed, skip to step 11 for Angular installation.
Step 1: To install NodeJs: Visit https://NodeJs.org/en/download
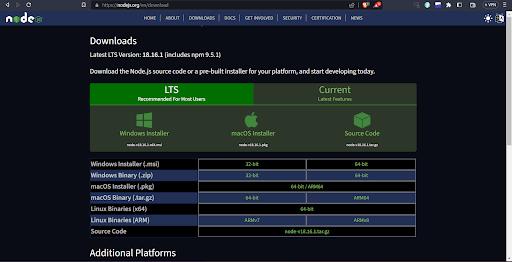
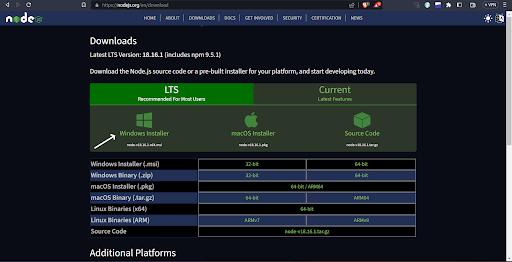
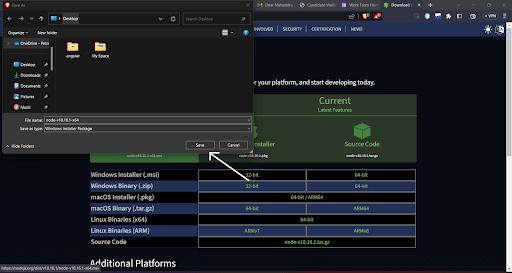
Step 2: Click on the windows installer and save the .exe file on your system.
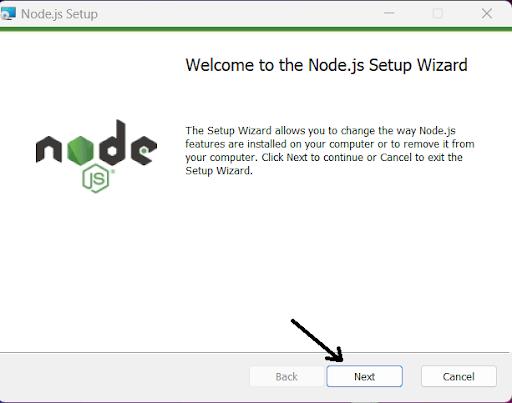
Step 3: Open the .exe file and click on Next.
Step 4: Click on the checkbox, I agree the terms in the license agreement and click Next.
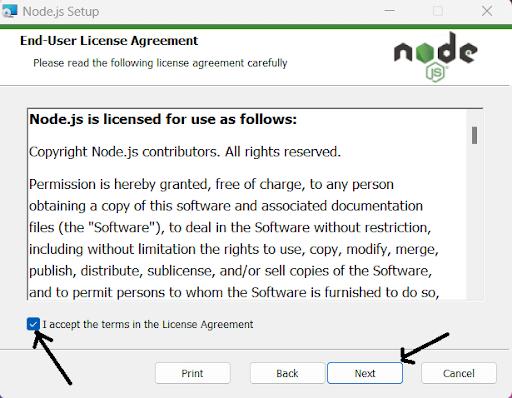
Step 5: Click Next followed by Next and Next, leaving rest as the default.
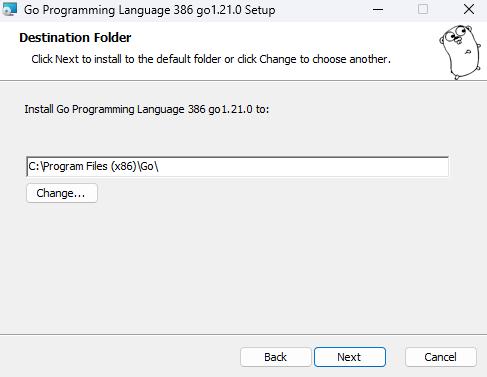
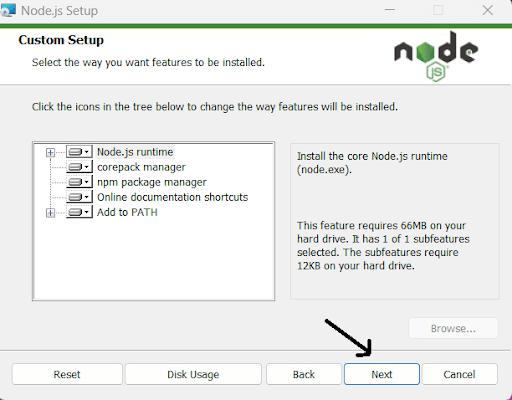
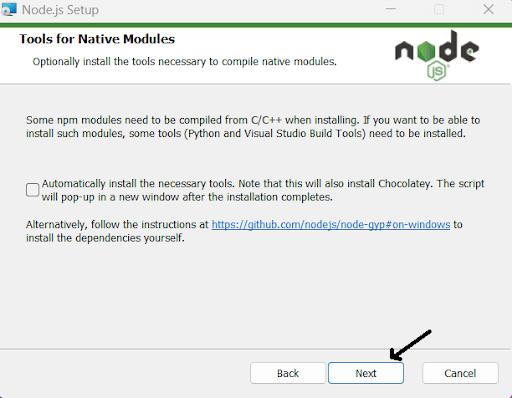
Step 6: Finally, click on Install. For system administration permission, click yes then installation will progress.
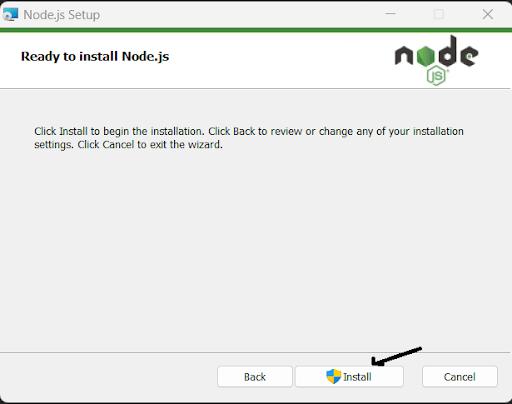
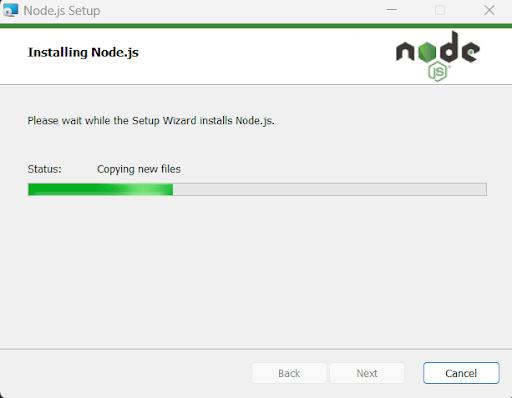
Step 7: Installation in progress.
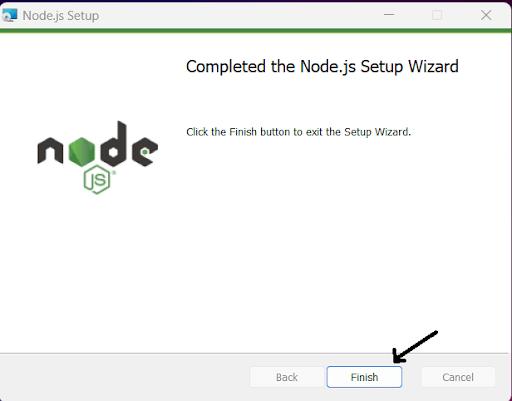
Step 8: Finally, NodeJs have been successfully installed. Now click on Finish.
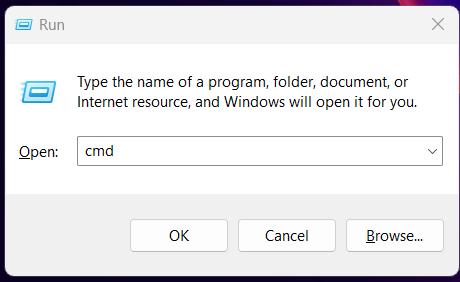
Step 9: verify NodeJs and Npm installation. Now, type the Windows+r key, and the dialog box will open. Type cmd hit enter, or in Windows search, type command prompt, and open it.
Step 10: Verify NodeJs and Npm installation by typing the command:
node –versionand
npm –version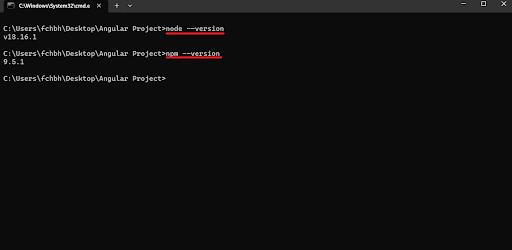
Angular CLI Installation on Windows
Step 11: Type the following command and hit enter:
npm install -g @Angular/cli 
Step 12: To check the Angular CLI version, type following command:
ng version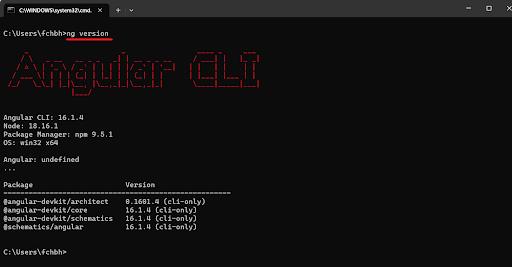
[ Check out Top Angular Projects For Beginners ]
Creating a Project Using Angular CLI
Step 13: Let's create the Angular project. If you have a code editor, create and open the folder in the code editor. After opening the code editor, type the command ng create project_name followed by yes and enter so it will create the Angular project for you.
Now change the current directory to a project by typing the command cd project_name and hitting enter.
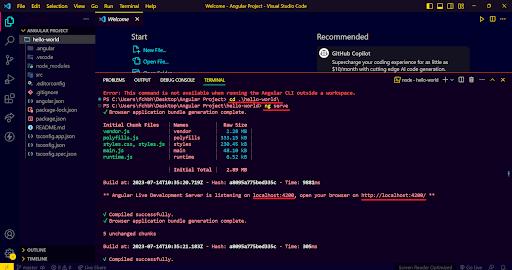
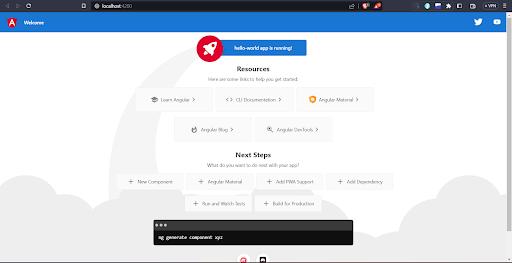
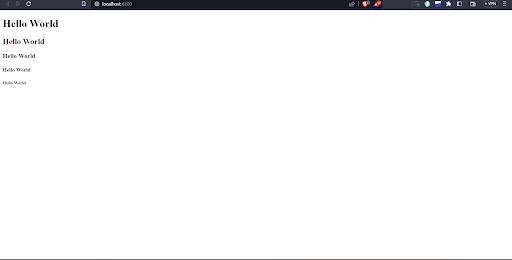
So now you are in the current project directory, so type the command ng serve will open the Angular project on localhost:4200. Hover on the localhost 4200 http link and click on it or type the command ng serve –open so it will open the project in the browser.
Code Editor
Brower
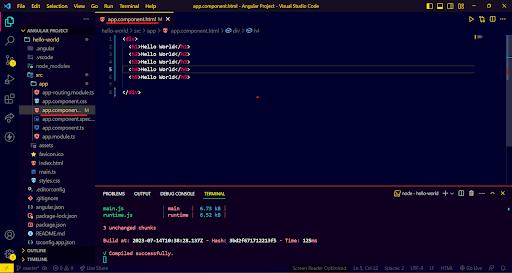
Step 14: Let's modify the project by opening the app.component.html file from src/app/ Clear all its content, type the code below, and see the browser for the changes.
<div>
<h1>Hello World</h1>
<h2>Hello World</h2>
<h3>Hello World</h3>
<h4>Hello World</h4>
<h5>Hello World</h5>
</div>
Code Editor
Brower
| Learn Angular JS Interview Questions and Answers that help you grab high paying jobs |
Angular CLI Installation FAQs
1. How do I install Angular?
To install angular you need to install Node.Js from the official website. After that you need to install Angular CLI by opening the command prompt and running the command : npm install -g @angular/cli.
2. How to use Angular CLI?
Install Angular CLI globally through the command: npm install -g @angular/cli. After installing Angular CLI, create a new project and run the development server by opening the project folder.
3. How do I run an Angular project locally?
To run an Angular project locally, you need to install Angular CLI globally from the terminal. After creating a new project and running the development server, access your project through http://localhost:4200 in your browser.
4. How to install Angular CLI using NPM?
Open the command prompt and run the command: npm install -g @angular/cli to install Angular CLI using npm. After installation, verify it by running the command: ng - -version. It will display the Angular CLI version.
5. How to create a new Angular project?
After installing angular CLI, you can create a new project with the following command: ng new project-name with all the important files and dependencies.
[ Related Blog: How To Install React JS? ]
Conclusion
In this Article, we learned how to install Angular on Windows systems. Initially, we started with setting up NodeJs installation, then Angular project creation and modification. To create SPAs(single page applications), Angular is the best choice amongst developers. So based on your requirements, you can go with Angular or any other framework.
 On-Job Support Service
Online Work Support for your on-job roles.

Our work-support plans provide precise options as per your project tasks. Whether you are a newbie or an experienced professional seeking assistance in completing project tasks, we are here with the following plans to meet your custom needs:
- Pay Per Hour
- Pay Per Week
- Monthly
| Name | Dates | |
|---|---|---|
| Angular Training | Feb 07 to Feb 22 | View Details |
| Angular Training | Feb 10 to Feb 25 | View Details |
| Angular Training | Feb 14 to Mar 01 | View Details |
| Angular Training | Feb 17 to Mar 04 | View Details |

Viswanath is a passionate content writer of Mindmajix. He has expertise in Trending Domains like Data Science, Artificial Intelligence, Machine Learning, Blockchain, etc. His articles help the learners to get insights about the Domain. You can reach him on Linkedin


