
- Introduction to Amazon Elastic File System
- Amazon On-Demand Instance Pricing
- AWS Kinesis
- Amazon Redshift Tutorial
- Amazon SageMaker - AIs Next Game Changer
- AWS Console - Amazon Web Services
- AWS Architect Interview Questions
- AWS Architecture
- Amazon Athena
- Top 11 AWS Certifications List and Exam Learning Path
- How to Create Alarms in Amazon CloudWatch
- AWS CloudWatch Tutorial
- Introduction To AWS CLI
- AWS Configuration
- AWS Data Pipeline Documentation
- AWS EC2 Instance Types
- AWS Elastic Beanstalk
- AWS Elastic Beanstalk Available in AWS GovCloud (US)
- AWS Free Tier Limits and Faq
- AWS EC2 Instance Pricing
- Choosing The Right EC2 Instance Type For Your Application
- AWS Interview Questions and Answers
- AWS Key Management Service
- AWS Lambda Interview Questions
- AWS Lambda Tutorial
- What Is AWS Management Console?
- Complete AWS Marketplace User Guide
- AWS Outage
- AWS Reserved Instances
- AWS SDK
- What is AWS SNS?
- AWS Simple Queue Service
- AWS SysOps Interview Questions
- AWS vs Azure
- AWS Vs Azure Vs Google Cloud Free Tier
- Introduction to AWS Pricing
- Brief Introduction to Amazon Web Services (AWS)
- Clean Up Process in AWS
- Creating a Custom AMI in AWS
- Creating an Elastic Load Balancer in AWS
- How to Deploy Your Web Application into AWS
- How to Launch Amazon EC2 Instance Using AMI?
- How to Launch Amazon EC2 Instances Using Auto Scaling
- How to Sign Up for the AWS Service?
- How to Update Your Amazon EC2 Security Group
- Process of Installing the Command Line Tools in AWS
- Big Data in AWS
- Earning Big Money With AWS Certification
- AWS Certification Without IT Experience. Is It Possible?
- How to deploy a Java enterprise application to AWS cloud
- What is AWS Lambda?
- Top 10 Reasons To Learn AWS
- Run a Controlled Deploy With AWS Elastic Beanstalk
- Apache Spark Clusters on Amazon EC2
- Top 35 AWS Services List
- What is Amazon S3? A Complete AWS S3 Tutorial
- What is AMI in AWS
- What is AWS? Amazon Web Services Introduction
- What is AWS Elasticsearch?
- What is AWS ELB? – A Complete AWS Load Balancer Tutorial
- What is AWS Glue?
- AWS IAM (Identity and Access Management)
- AWS IoT Core Tutorial - What is AWS IoT?
- What is Cloud Computing - Introduction to Cloud Computing
- Why AWS Has Gained Popularity?
- Top 10 Cloud Computing Tools
- AWS Glue Tutorial
- AWS Glue Interview Questions
- AWS S3 Interview Questions
- AWS Projects and Use Cases
- AWS VPC Interview Questions and Answers
- AWS EC2 Tutorial
- AWS VPC Tutorial
- AWS EC2 Interview Questions
- AWS DynamoDB Interview Questions
- AWS API Gateway Interview Questions
- How to Become a Big Data Engineer
- What is AWS Fargate?
- What is AWS CloudFront
- AWS CloudWatch Interview Questions
- What is AWS CloudFormation?
- What is AWS Cloudformation
- Cloud Computing Interview Questions
- What is AWS Batch
- What is AWS Amplify? - AWS Amplify Alternatives
- Types of Cloud Computing - Cloud Services
- AWS DevOps Tutorial - A Complete Guide
- What is AWS SageMaker - AWS SageMaker Tutorial
- Amazon Interview Questions
- AWS DevOps Interview Questions
- Cognizant Interview Questions
- Cognizant Genc Interview Questions
- Nutanix Interview Questions
- Cloud Computing Projects and Use Cases
- test info
- AWS vs Alternatives
AWS is a cloud computing platform that offers organizations on-demand IT resources, including virtual servers, databases, storage, security services, and more. It is crucial to manage AWS resources effectively to keep them secure and reliable.
This article discusses how to install the AWS CLI and configure settings in AWS resources. Also, it explains AWS identity and management, and application deployment.
If you are a beginner, SysOps engineer, or DevOps engineer, you shouldn't miss this blog. Let’s get started.
Table of Contents:
- AWS Configuration Variables
- Install AWS CLI
- Configuring the AWS CLI
- AWS Configure Commands
- AWS Access and Identity
- Deploying a Web Application
- Monitoring AWS Resources
- Frequently Asked Questions
AWS Configuration Variables:
Here we will go through some of the configuration variables used in the Amazon configuration file:

- AWS Access Key ID: This configuration provides the access key ID component of your credentials.
- AWS Secret Access Key: The AWS secret access key is one of the components of credentials that provide security.
- AWS Session Token: This particular configuration variable is used to set a session token in the token part of your credentials.
- Metadata Service Timeout: This command returns the number of seconds to wait before the Metadata request service times out. This variable configuration in an IAM role helps to provide the login credentials.
- Metadata_service_num_attempts: This configuration variable specifies the number of attempts to retrieve valid credentials. If you want to know about certain values by using the IAM role on an Amazon EC2 instance, you can easily set default values.

Install AWS CLI:
Let’s walk through the step-by-step procedure to install AWS CLI in Windows, Linux, and macOS operating systems.
Here we go:
- Installing AWS CLI in Windows
- Prerequsities
- Microsoft-supported versions of the 64-bit Windows operating system
- Administrator permissions for installation
- Installation Procedure
- Download and run the AWS CLI MSI installer using the link below.
link - You can also use the msiexec command shown below to run the installer.
msiexec.exe /i https://awscli.amazonaws.com/AWSCLIV2.msi - Confirm the installation in the Start menu by searching for CMD.
- A command prompt window will open.
- Use the ‘aws --version’ command to view the latest version of the AWS CLI.
- Download and run the AWS CLI MSI installer using the link below.
- Prerequsities
- Installing AWS CLI in Linux:
- Prerequisites:
- Your operating system must support the unzip command.
- Linux distributions must be CentOS, Fedora, Ubuntu, Amazon Linux 1 & 2, and ARM-based Linux distributions.
- Installing Procedure:
- Download the AWS CLI installer using the curl command as shown below.
curl "https://awscli.amazonaws.com/awscli-exe-linux-x86_64.zip" -o "awscliv2.zip" - You can download it using the link given below.
link - Unzip the installer using the command below. It unzips the package and creates a directory named ‘aws’
unzip awscliv2.zip - Run the installer. The command includes ‘sudo’ to grant write permissions.
sudo ./aws/install - Verify the installation using this command.
aws -- version
- Download the AWS CLI installer using the curl command as shown below.
- Prerequisites:
- Installing AWS CLI in macOS:
- Prerequisites:
- The latest version of macOS supported by Apple that receives security updates.
- Administrator permissions for installation
- Installing procedure:
- Download the installer using the curl command if you are using Apple M1/M2/M3.
Link - Run the downloaded file based on the instructions.
- You can use the commands below to verify whether the shell can find and run the AWS command.
$ which aws
/usr/local/bin/aws
$ aws -- version
aws-cli/2.27.41 Python/3.11.6 Darwin/23.3.0
- Download the installer using the curl command if you are using Apple M1/M2/M3.
- Prerequisites:

Configuring the AWS CLI:
This section explains how to configure the AWS CLI for interacting with AWS accounts, including the default region and security credentials.
Before starting the process, you need to check the computer's time and date. Otherwise, the request that you are processing for AWS will be rejected.
- Quick Configuration:
You can use the quick configuration concept to configure the AWS CLI in seconds and complete the configuration.
This AWS CLI command prompts you for four pieces of information required for account credentials, including the AWS access key ID and AWS secret access key.
- AWS Configure SSO Flow
AWS Single Sign-On (SSO) is now known as AWS IAM Identity Center. It enables you to access multiple AWS accounts and applications with a single set of credentials.
Below are the steps involved in the AWS SSO configuration flow:
-
- Enable IAM Identity Center
- Choosing the identity source
- Creating users and groups
- Creating permission sets
- Assigning users or groups to AWS accounts
- How to get the access key ID and secret access key for an IAM user?
Access keys consist of an ID and a secret key, which are used to sign programmatic requests to AWS. You can also create the keys using the AWS Management Console.
It is recommended to use IAM access keys instead of the AWS root user access keys, as they let you control and secure access to AWS resources and services within your AWS account.
You can view or download the secret access key only when it is created. If it is lost, you must create a new access key. You can create access keys at any time, provided you have the required IAM permissions.
The following steps help you create the access key ID and secret access key for the IAM user.
-
- First, open the IAM console.
- You can choose users in the console's navigation pane.
- Now select the IAM user.
- Before creating an access key, choose Security credentials.
- Use the SHOW option to see the new access key.
- Now download the access key as a .csv file extension and store it in a secure location.
- Configuration Settings and Precedence
The Amazon CLI uses the provider chain to locate AWS credentials, which are stored in various locations, including environment variables and local configuration files.
However, the AWS CLI evaluates credential sources and sets them in the order described below.
-
- Command-line options: You must specify the output format and the profile, and provide them as command-line options that override the default settings.
- Environment variables: They include AWS secret access key, AWS session token, and AWS access key.
- AWS credentials file: This file is located at .aws on macOS, Linux, or UNIX and contains multiple named profiles, including the default one.
- CLI configuration file: This file is located in the same place as the AWS credential file, at .aws/config on Unix, macOS, and Linux, and may contain the default named profiles along with the CLI's specific configuration parameters.
- Container credentials: Credentials can be provided by container services such as Amazon ECS task roles.
- Instance profile credentials: The credentials in the Amazon EC2 metadata service are used only on EC2 instances with a specific role, which can be delivered via the metadata service.
Related article: AWS Tutorial
AWS Configure Commands:
In this section, we’ll discuss the different AWS configure commands in detail.
- Add: You can use this command in AWS Configure as a services JSON model to add a custom service model to AWS CLI. Once the model is added to your AWS account, the CLI commands and Boto3 clients will automatically be available in the JSON model.
aws configure add-model -- service-model file://service.json - Get: If you want to get the configuration value for your config rule, this Get command in AWS Config is the perfect option. You can use this command to print the value from the configuration file that contains AWS configuration values.
It also supports two types of configuration values: qualified and unqualified. You can use this command to view only the values in the configuration file. It won't evaluate the entire variable specified in the command-line arguments.
The example below shows how to use the get command.
$ aws configure get aws_access_key_id default_access_key - List: You can use this command to list the AWS CLI configuration data, which will display it automatically. For each configuration item, it can show the value, which can be retrieved via the variable names.
You can also set the AWS region in an environment variable, which will display a command for that region.
Example:aws configure list [ -- profile profile-name] - Set: You can use this Set command to set a configuration value according to the config file. It is also used to set a single configuration value, supporting both unqualified and qualified forms, similar to the get command.
You must provide the configuration name with respect to the values. The configuration file doesn't exist, as it can be created automatically. If it exists, then the value will automatically get updated with the new value.
Example: If you use the commands below on an empty configuration file, you will get the following config file.
$ aws configure set aws_access_key_id default_access_key
$ aws configure set aws_secret_access_key default_secret_key
$ aws configure set default.region us-west-2
$ aws configure set default.ca_bundle /path/to/ca-bundle.pem
$ aws configure set region us-west-1 -- profile testing
$ aws configure set profile. testing2.region eu-west-1
[default] region = us-west-2 ca_bundle = /path/to/ca-bundle.pem [profile testing] region = us-west-1 [profile testing2] region = eu-west-1
AWS Access and Identity:
Let’s take a glance at the IAM users, IAM roles, and IAM Identity Center here.
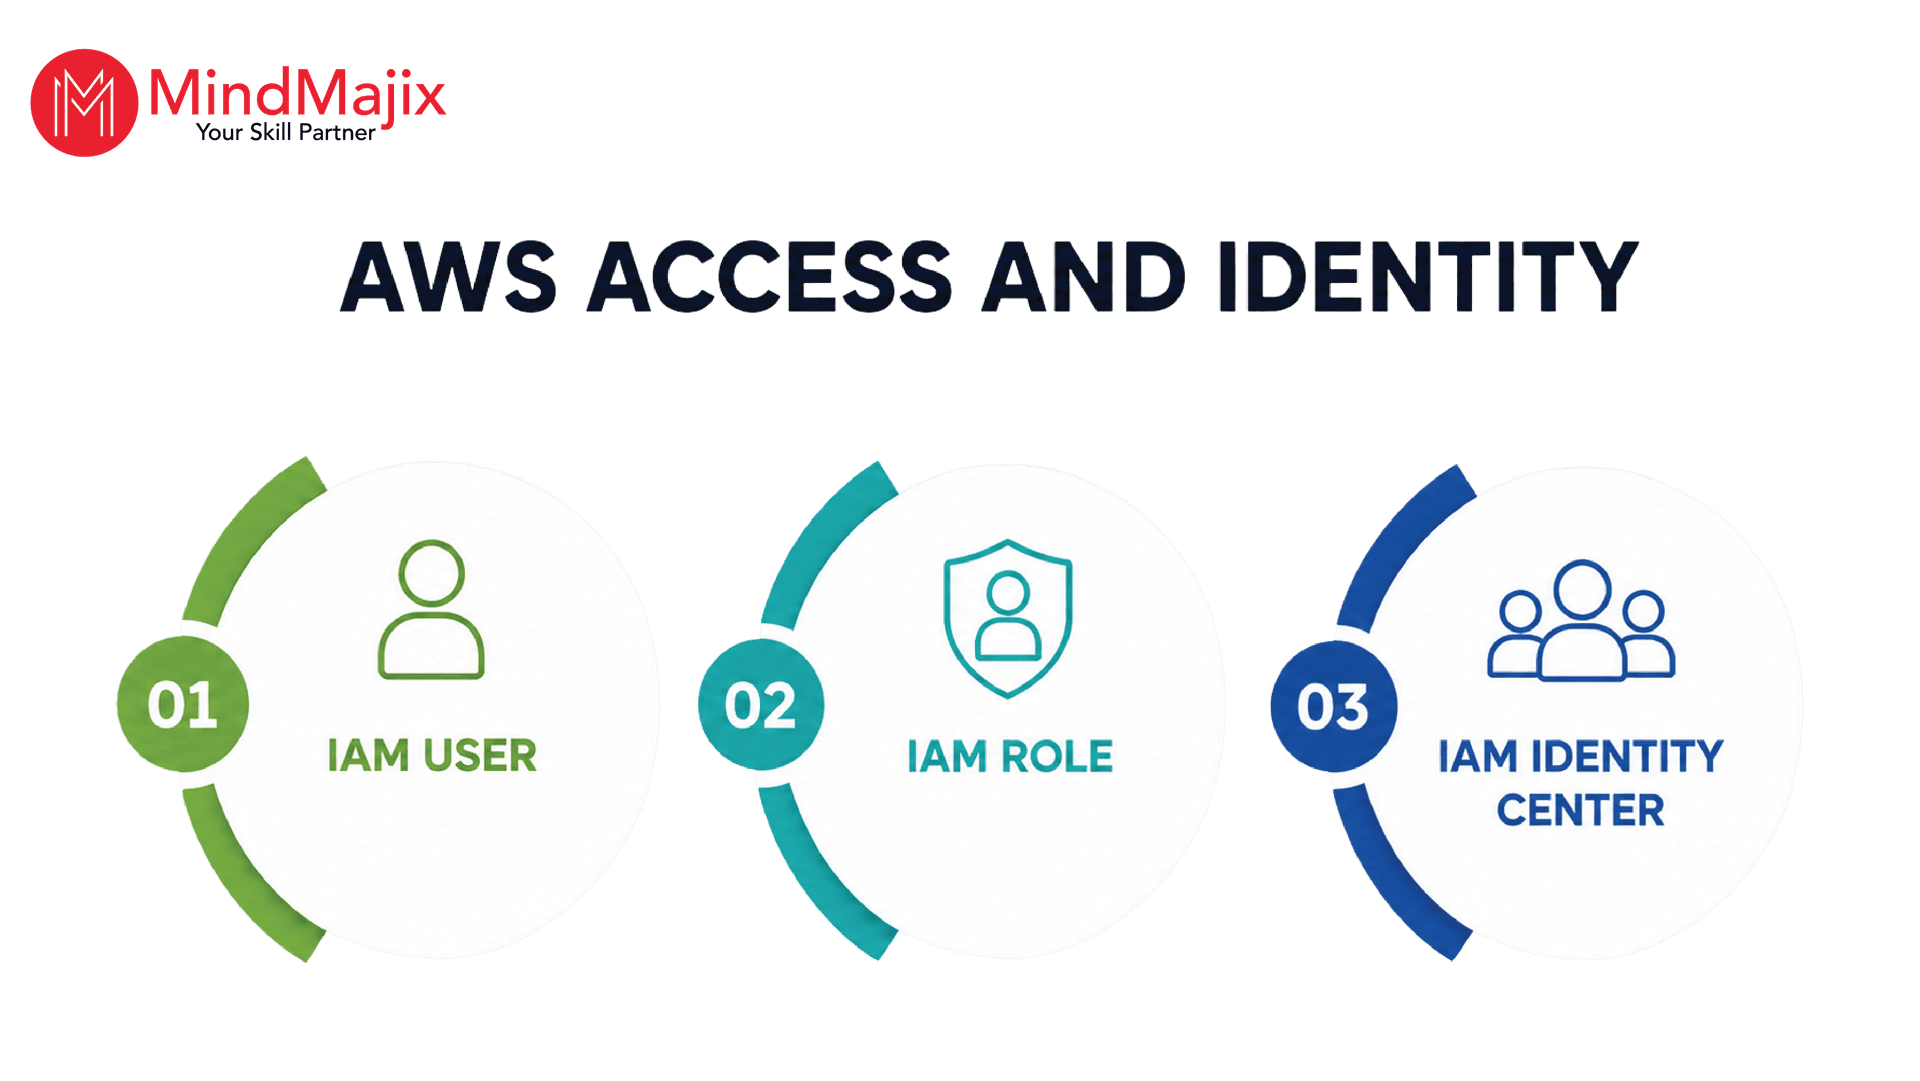
- IAM user – An IAM user is a permanent AWS identity. IAM user credentials can include a username and password, an access key ID, and a secret access key. You can use these credentials for legacy applications and service accounts.
- IAM role – It is a temporary identity with assumed permissions. You can use IAM roles for AWS services, cross-account access, and more.
- IAM Identity Center – It is a centralized service for workforce authentication and access management. It is especially useful when employees access multiple AWS accounts.
- Least-privilege and MFA: Least privilege and multi-factor authentication are security measures organizations use to protect AWS resources from unauthorized access.
Least privilege focuses on providing only the minimum permissions to users, applications, or services. It helps organizations to reduce the attack surface and prevent accidental changes.
With MFA, you must use two or more authentication steps to access a resource or service.
AWS supports many MFA methods, including:- Authenticator apps (TOTP)
- Hardware security keys (FIDO2/WebAuthn)
- Hardware MFA devices
Also Read: AWS Projects
Deploying a Web Application:
Here, you’ll first connect to your Amazon EC2 instance, and then you’ll deploy Drupal, which is already available on the Linux AMI.
A) Connecting to your Amazon EC2 Instance from Your Web Browser:
The steps to connect to a Linux/ UNIX instance using your browser are as follows:
- Install and Enable Java on Your Browser
You must have Java installed and enabled in your browser to connect to your instance from the Amazon Elastic Compute Cloud (Amazon EC2) console.
To install and enable Java, follow the steps provided by Oracle below, or contact your IT administrator to do so in your web browser.
B) Connect to Your Amazon EC2 Instance from a Windows computer using PuTTY
If you are running Windows on your local machine, Secure Shell (SSH) is not built in, so you will need to install PuTTY and PuTTYGen.
Follow the steps below to connect to your Amazon EC2 instance from a Windows machine.
- Download and install PuTTY and PuTTYGen: A Google search for “download PuTTY” returns several download sources. Ensure to install both PuTTY and PuTTYGen, as you will need them.
- Convert the key pair using PuTTYGen:
- Launch PuTTYGen
- On the Conversions menu, click ‘Import Key’
- Browse to mykeypair.pem, and then click ‘Open’
- Click ‘Save private key’.
- It will ask if you want to continue without a passphrase in the message. Then, click OK.
- Save the key as mykeypair.ppk
- Close PuTTYGen
- Configure the SSH Settings:
- Start PuTTY, expand the SSH node, and then click Auth.
- In the Private Key file for authentication box, enter the location for mykeypair.ppk.
- Modify the keepalive
- In the PuTTY Configuration window, click ‘Connection’ in the Category pane.
- In the Seconds between keepalives (0 to turn off) box, type 60. If you don’t change this value, your session will time out.
- Save the session settings.
- In the PuTTY configuration window, click ‘Session’ in the Category pane.
- Click the default settings in the Load, Save, or Delete a stored session box, then click Save.
- Type the DNS address of the Amazon EC2 instance, which you have retrieved in the previous task.
- In the PuTTY Configuration window, click ‘Sessions' in the Category pane.
- In the Host Name (or IP address) box: ec2-user@ <DNS-name> of your Amazon EC2 instance >. Note that the username for the AMI is ec2-user.
- Click Open. When the PuTTY Security Alert dialog box appears, click ‘Yes’ to confirm that the fingerprint is correct. The PuTTY SSH window will open.
- The SSH fingerprint will appear in the system log. You can use the SSH fingerprint as a comparison to protect against a man-in-the-middle attack.
Now that you have successfully installed PuTTY and configured SSH.
Related Article: What is AWS Cloudformation
Monitoring AWS Resources:
Here, we will discuss AWS CloudWatch, which you can use to monitor AWS resources.
AWS CloudWatch is the monitoring and observability service of AWS. You can use this service to collect, visualize, and act on operational data from various AWS resources.
- Functions:
- AWS CloudWatch tracks resource utilization and performance metrics, including latency, request counts, memory usage, and CPU usage.
- It collects, stores, and analyzes application and system logs.
- It sends alerts or triggers actions when KPIs show significant variation.
- It creates custom visualizations of operational data.
- It provides insights into application health and performance.
- AWS CloudWatch clean-up: You can deploy a CloudWatch low-value alarm cleanup solution to identify misconfigured alarms. This mechanism helps customers optimize CloudWatch alarm costs.
Related Article:- AWS Interview Questions and Answers
Frequently Asked Questions:
1) What does ‘aws configure’ do?
‘aws configure’ is a command that you can use to set up AWS CLI credentials and default settings. You need to have an AWS access key ID, AWS secret access key, default region name, and default output format to run this command.
2) Where can you store AWS credentials?
AWS CLI stores credentials and configurations in separate files based on the operating system. You can use shared configuration files, config files, CI/CD secret stores, and more.
3) What is the difference between the ‘aws configure’ and ‘aws configure sso’ commands?
You can use the ‘aws configure’ command to set up AWS CLI credentials and basic configuration. On the other hand, you can use the ‘aws configure sso’ command to configure the AWS CLI with AWS IAM Identity Center.
4) Which AWS service should I use to deploy a web app?
If you are deploying a simple web application, it is better to use AWS Elastic Beanstalk.
| Explore AWS Sample Resumes! Download & Edit, Get Noticed by Top Employers! |
Conclusion:
Mastering AWS CLI installation, configuration, and secure deployment is critical for efficient AWS administration. Leveraging modern authentication practices is pivotal to ensuring cloud resources remain secure and scalable.
We hope the step-by-step procedure we provided in the tutorial helped you. If you want to delve deep into AWS CLI and configuration, you can explore AWS courses on MindMajix. By the end of the training, you will gain a deep understanding of AWS server administration, and much more.
 On-Job Support Service
Online Work Support for your on-job roles.

Our work-support plans provide precise options as per your project tasks. Whether you are a newbie or an experienced professional seeking assistance in completing project tasks, we are here with the following plans to meet your custom needs:
- Pay Per Hour
- Pay Per Week
- Monthly
| Name | Dates | |
|---|---|---|
| AWS Training | Jul 14 to Jul 29 | View Details |
| AWS Training | Jul 18 to Aug 02 | View Details |
| AWS Training | Jul 21 to Aug 05 | View Details |
| AWS Training | Jul 25 to Aug 09 | View Details |

Prasanthi is an expert writer in MongoDB, and has written for various reputable online and print publications. At present, she is working for MindMajix, and writes content not only on MongoDB, but also on Sharepoint, Uipath, and AWS.


